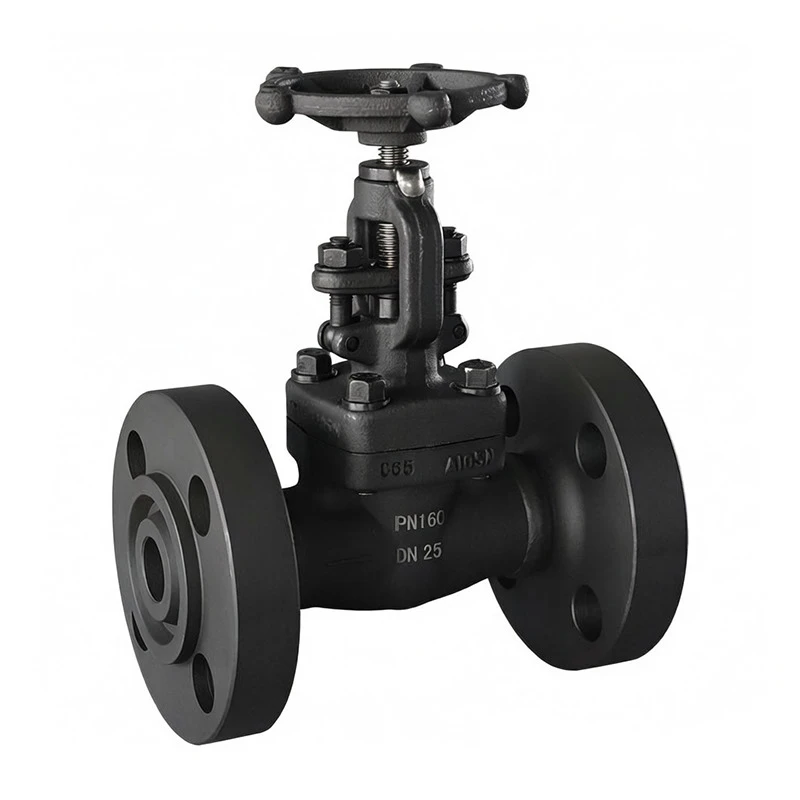
1. Pre-installation Inspection: Verify that the valve's nominal diameter, pressure rating, and flange standard (GB/T9113) match the pipeline specifications; inspect the valve body and flange sealing surfaces for cracks or scratches; ensure the ball operates smoothly and the packing is intact; and clear the pipeline interior of welding slag, rust, and debris.
2. Positioning and Alignment: Hoist the valve into position at the pipeline connection, ensuring horizontal or vertical installation and aligning the flow direction indicator with the actual medium flow; adjust the alignment (concentricity) of the pipes at both ends to prevent flange deformation caused by forced connection.
3. Gasket Placement: Center the appropriate gasket (e.g., PTFE, PVFM, spiral-wound metal) between the flange sealing surfaces on both sides; ensure the gasket is not misaligned or double-stacked.
4. Bolt Tightening: Tighten bolts evenly using a diagonal cross-pattern in multiple stages (2–3 increments); strictly avoid fully tightening one side at a time; ensure 2–3 threads of the bolt extend beyond the nut; and verify smooth operation after tightening.
5. Pressure Testing and Commissioning: Conduct a hydrostatic or pneumatic pressure test after installation; maintain pressure to check for leaks at the valve body, flanges, and stem; and test the 90° opening/closing action to confirm full travel without binding.
6. Final Cleanup and Protection: Clean the installation site; for outdoor valves, apply anti-rust and weather-protection measures to the valve stem to complete the installation.